A DIY Guide to Installing Your Bathroom Vanity: Tips and Tricks for Success
January 29 2024 – Grayson Ford
Embarking on a bathroom renovation can be a thrilling adventure, especially when it involves installing a new bathroom vanity. Today, let's delve into the nitty-gritty of this DIY project, exploring the general process and sharing some invaluable tips and tricks to ensure a seamless installation.
1. Planning and Preparation: Before diving into the project, measure your bathroom space carefully. Ensure the vanity's dimensions fit comfortably without obstructing doors or other fixtures. Additionally, identify the location of existing plumbing to avoid any surprises during installation.
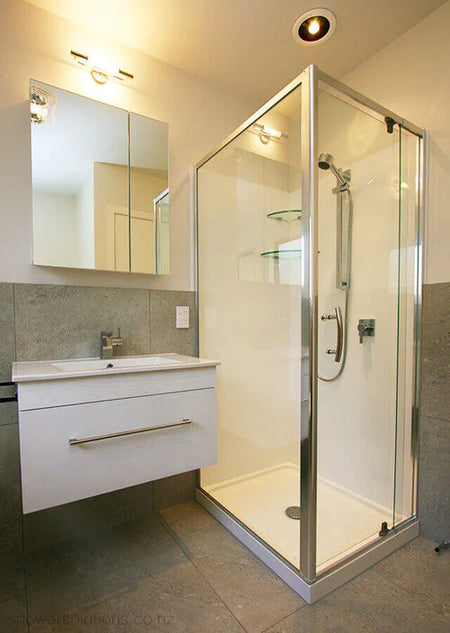
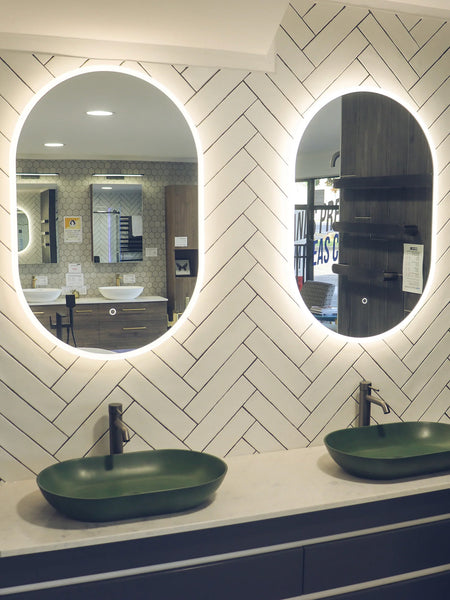
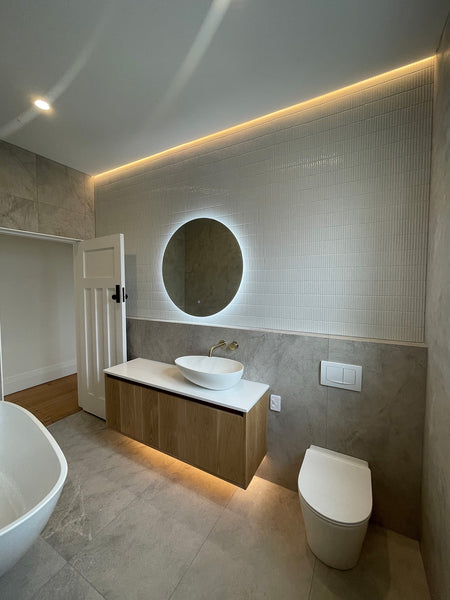
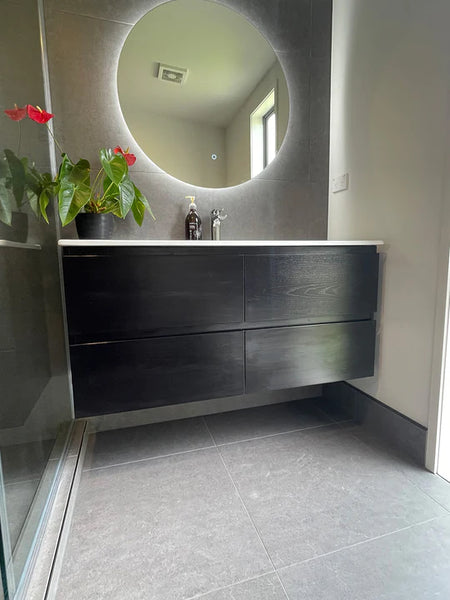
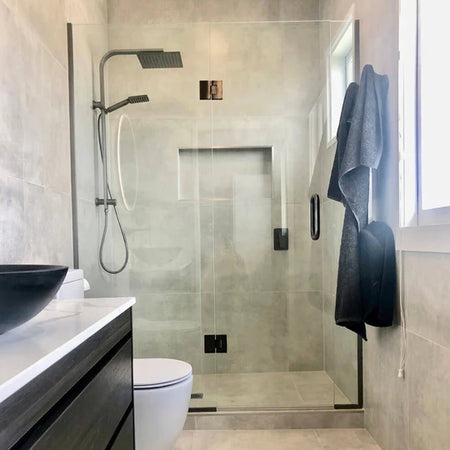
2. Choose the Right Vanity: Select a vanity that complements your bathroom style and meets your storage needs. Wall-hung vanities are a popular choice for smaller spaces, offering a modern look while maximizing floor space.
3. Gather Your Tools and Materials: Ensure you have a level, tape measure, power drill, stud finder, screws, and your chosen vanity with all necessary components.
4. Locate and Mark Wall Studs: Use a stud finder to locate the wall studs. Mark these locations to securely anchor your vanity to the wall. This step is crucial for stability and longevity.
5. Assemble the Vanity: Follow these steps to assemble your vanity:
a. Lay out all components and check for any missing parts.
b. Attach the side panels to the main cabinet using the provided screws.
c. Add the back panel, securing it to the side panels.
d. Attach any pre-assembled drawers or shelves according to the instructions.
e. If applicable, install the vanity top by following the recommended method for your specific model.
6. Mounting Cleats for Stability: Enhance stability by attaching mounting cleats to the back of the vanity. These cleats will be secured to the wall studs for additional support. Use a level to ensure the cleats are perfectly horizontal.
7. Secure the Vanity to the Wall: Lift the vanity into position and secure it to the wall using screws. Drive the screws into the wall studs for a robust installation. Use a level throughout this process to keep the vanity straight and balanced.
8. Connect Plumbing Fixtures: Connect the plumbing fixtures as follows:
a. Install the sink by placing it into the designated space on the vanity.
b. Connect the faucet to the sink according to the manufacturer's instructions.
c. If applicable, attach the P-trap to the drain, ensuring a secure connection.
9. Seal Gaps and Edges: Prevent water damage and enhance the finished look by applying a clear silicone sealant to any gaps or edges around the vanity and sink.
10. Enjoy Your Handiwork: Step back and admire your newly installed bathroom vanity. Take pride in the fact that you tackled this project yourself and transformed your bathroom space.
In conclusion, installing a bathroom vanity is a rewarding DIY endeavor that, with careful planning and attention to detail, can be achieved by homeowners of all skill levels. Follow these practical steps, and you'll be well on your way to enjoying a beautifully installed bathroom vanity that seamlessly combines style and functionality.